When I first became diagnosed with a cow’s milk allergy 20+ years ago, the only readily available options to replace real butter in my baking recipes were margarine and shortening. Unfortunately, both were made with partially or fully hydrogenated oils. Luckily, many healthier options are now available to make a dairy-free pie crust, including Earth Balance vegan baking sticks, non-hydrogenated shortening and coconut oil for baking.
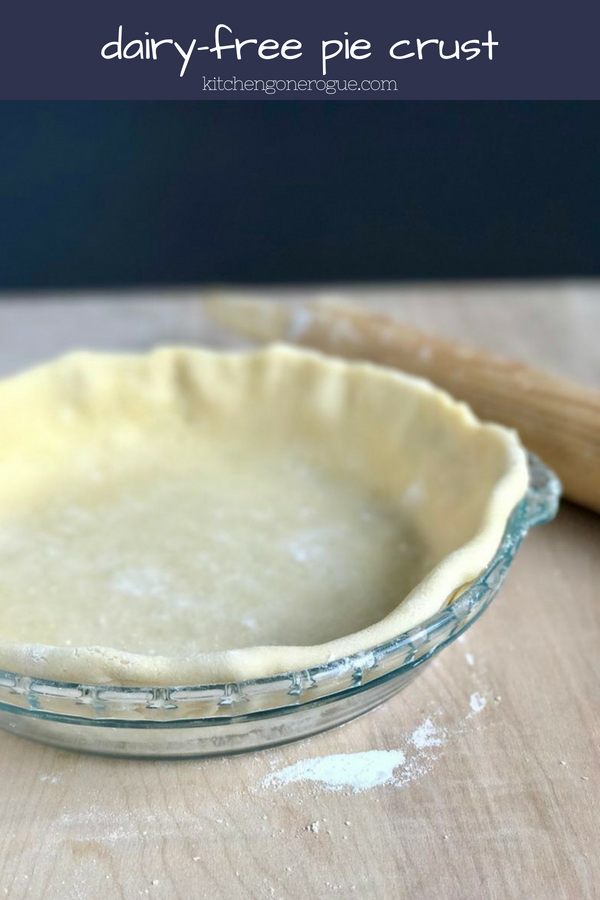
I have tested all of the above in pie crusts and like the Earth Balance vegan buttery sticks the best, so this dairy-free pie crust recipe (which is also vegan) calls for these. Earth Balance also makes a soy-free version. I can typically find the Earth Balance sticks at a Signature Kroger store, Whole Foods and Central Market plus Tom Thumb or Albertson stores. Earth Balance has a store locator on its website. Note: this is not a sponsored post. I’m happy for Earth Balance to sponsor a post and help support this blog … but that hasn’t happened yet. And either way, no product is ever getting mentioned on this blog that I don’t truly use and like.
But what if you don’t have a dairy allergy? Does this pie dough recipe work with real butter? YES. I have made it with real butter too, and it turns out beautifully and, I’m told, delicious.
Tips and Tricks for Making This Dairy-Free Pie Crust:
- Your buttery sticks and water need to be COLD.
- It’s best to use an electric mixer or food processor, but you can do by hand if you have to (make sure you get the dry ingredients and “butter” blended really well (to pea size), before you add the water.
- Pie does can get tough to work with if it’s overworked, but the biggest concern here is after you add the water, so don’t be afraid to mix it all really well before you do that.
- You can make and bake this dough up to a day in advance.
- I find this dough easiest to roll out immediately, rather than chilling first as some pie recipes suggest.
- I do, however, find it easier to make the edges pretty if I refrigerate the dough AFTER I have rolled it out, put it in the pie plate, trimmed it and tucked it under. Note: making the edges pretty is a challenge for me with any crust – I can hardly draw a straight line and have to REALLY focus to get somewhat pretty pie edges 🙂
- Follow the recipe exactly.
- If you need a pre-baked pie shell (pumpkin pies call for a pre-baked pie shell; cherry and pecan pies do not, for example), use my mom’s method (prick it with a fork all over, including sides before baking) or use pie weights or pie weight stand-ins, such as dry beans or popcorn kernals in aluminum foil to vent or weight down the pie dough so it doesn’t bubble up while it’s baking. If you use the fork-pricking method, just keep an eye on it … if it starts to bubble up a little in a spot, open the oven and carefully prick it in that spot with your fork
- Use a pie shield to protect your crust … or tent it with foil. I tented it with foil most of my life and finally bought pie shields. I have no idea what took me so long. They’re relatively inexpensive and save you the hassle of tearing off strips of aluminum foil and carefully arranging them around your pie. I wish I would have bought one much, much, much sooner!!! You just carefully plop that baby on top and boom – no burnt pie edges. 🙂 There are various sizes and options available.
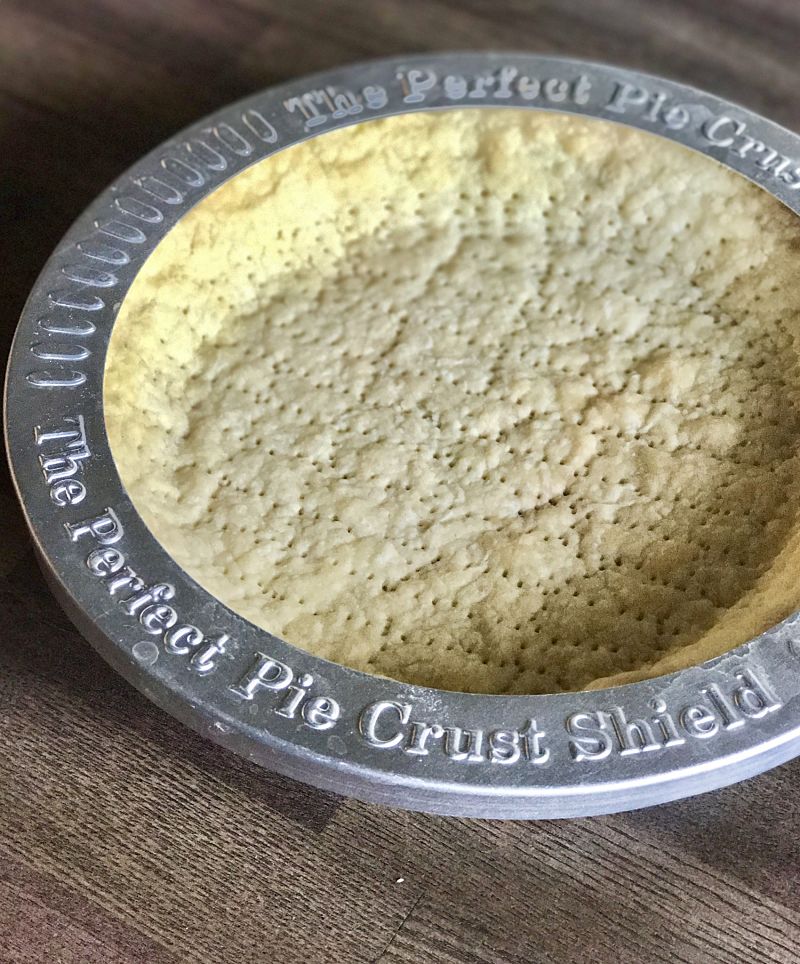
Pre-Baked Pie Crust with Fork Pricks
Pin it/save it and make it!
| Prep Time | 10 minutes |
| Cook Time | 25 minutes |
| Servings |
pie crust
|
- 1 1/2 cups all purpose flour
- 1 tsp sugar
- 1/4 tsp fine sea salt
- 8 Tbsp cold Earth Balance vegan buttery sticks (make sure it is cold; leave in frig until you are ready to mix)
- 4-5 Tbsp cold watter (make sure it's COLD)
Ingredients
|

|
- Cut the buttery sticks into small pieces, working as quickly as possible and touching them as little as possible (I cut on a cutting board and slide them into mixing bowl with my knife)
- Combine the flour, sugar and salt and mix lightly.
- Combine cut up "butter" with flour, sugar and salt and blend well in an electric mixer, food processor or by hand (you can use your hand or a pastry cutter). Blend until it's in pea-size pieces (about 3-4 minutes in mixer)
- Add 4 Tbsp of cold water and mix on low to medium-low just until the dough forms. Add another 1/2 -1 Tbsp of cold water if needed.
- Spread flour on a clean, dry, flat surface (1/4 cup or so should work)
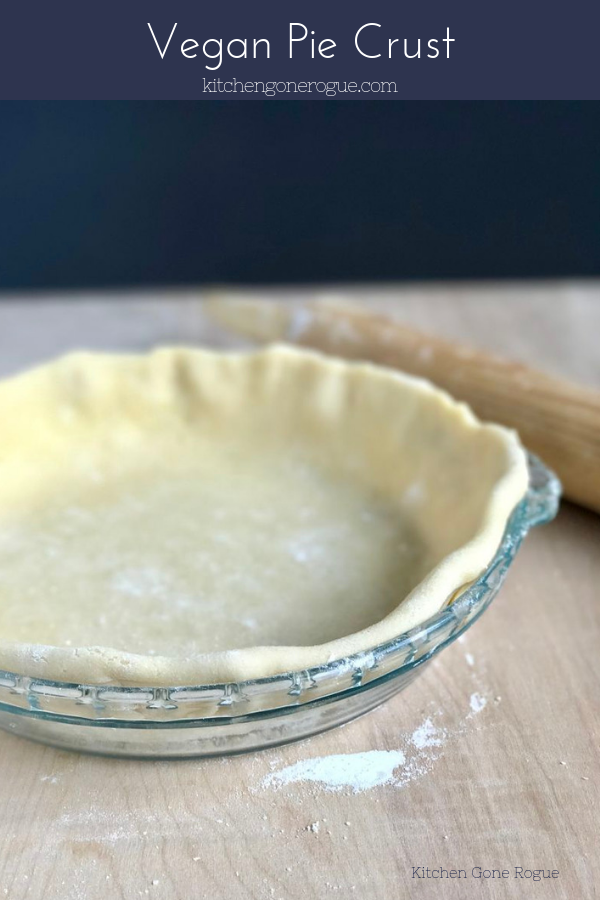
- Take the dough out of the bowl and use your hands to form the dough into a ball ... and then a flat disk about 5-6 inches wide
- Lay the dough on the floured surface and use a rolling pin to roll out the dough into a circle, keeping the dough's thickness as even as possible
- Fold the dough in half and place in your pie pan, then carefully fold it out to cover the entire pie plate.
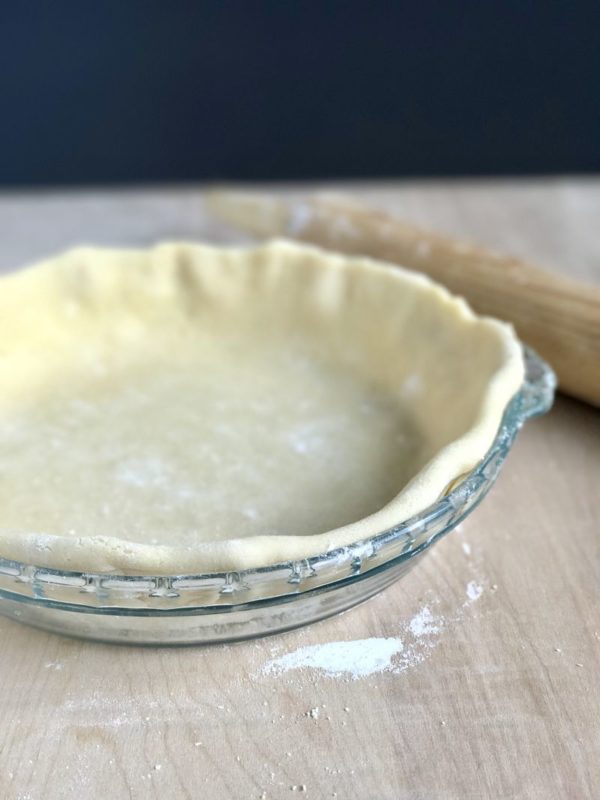
- Carefully fit the dough on and in the plate, then trim your dough around the plate, leaving a full inch of dough hanging over.
- Next, tuck that extra inch inside the pie plate.
- Chill for at least a half hour, then crimp the edges however you'd like. IF this is a pre-baked pie shell (such as for pumpkin pie), prick the dough with forks all over or use pie weights or substitute to keep the pie crust from bubbling up.
- Tent the pie's edges with foil or use a pie crust shield to keep the pie crust's edges from getting overdone or burning.
- Bake at 375 degrees F for 25 minutes (give or take a minute or two, depending on your oven.
- If this is a pre-baked pie crust, let it cool thoroughly before adding your pie filling and baking per your pie's instructions.
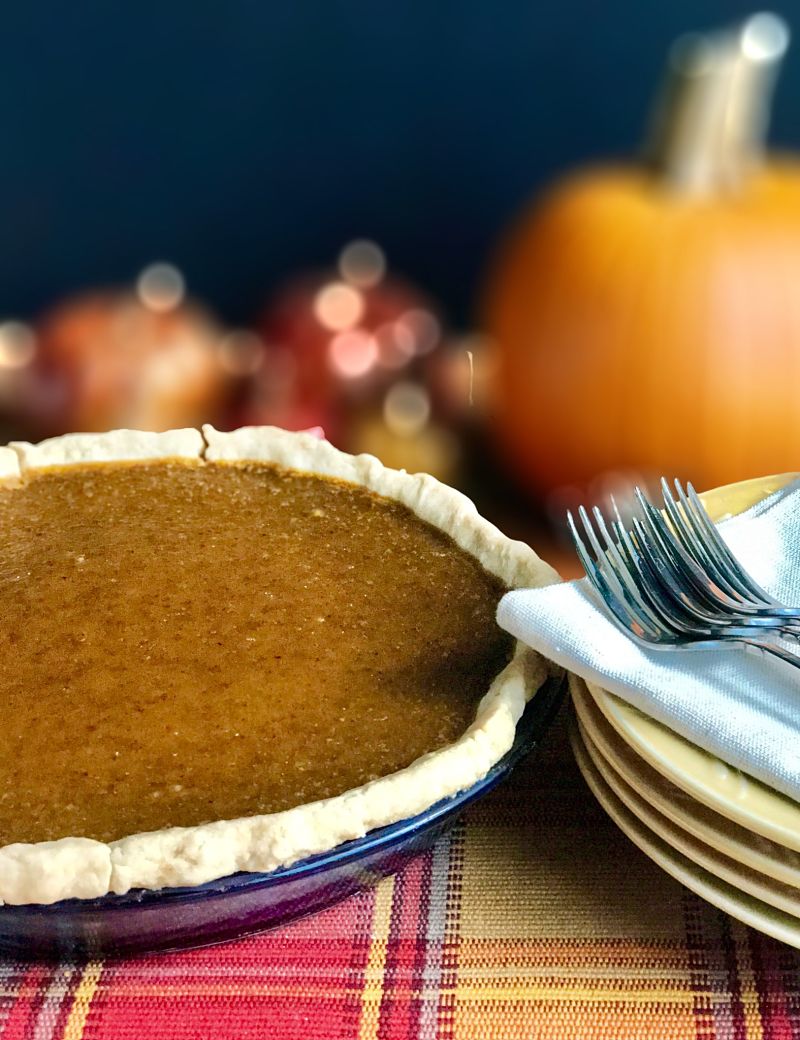
Click here to find Kitchen Gone Rogue's dairy-free pumpkin pie recipe!
© Kitchen Gone Rogue. www.kitchengonerogue.com

Leave a Reply